02 / NAVIGATION · PILOT FIELD GUIDE

Find a heading.
Bring a friend.

Cruise around a contact, jump across a system, or calibrate at the Nexus to reach another Layer. Each tool has a different job.

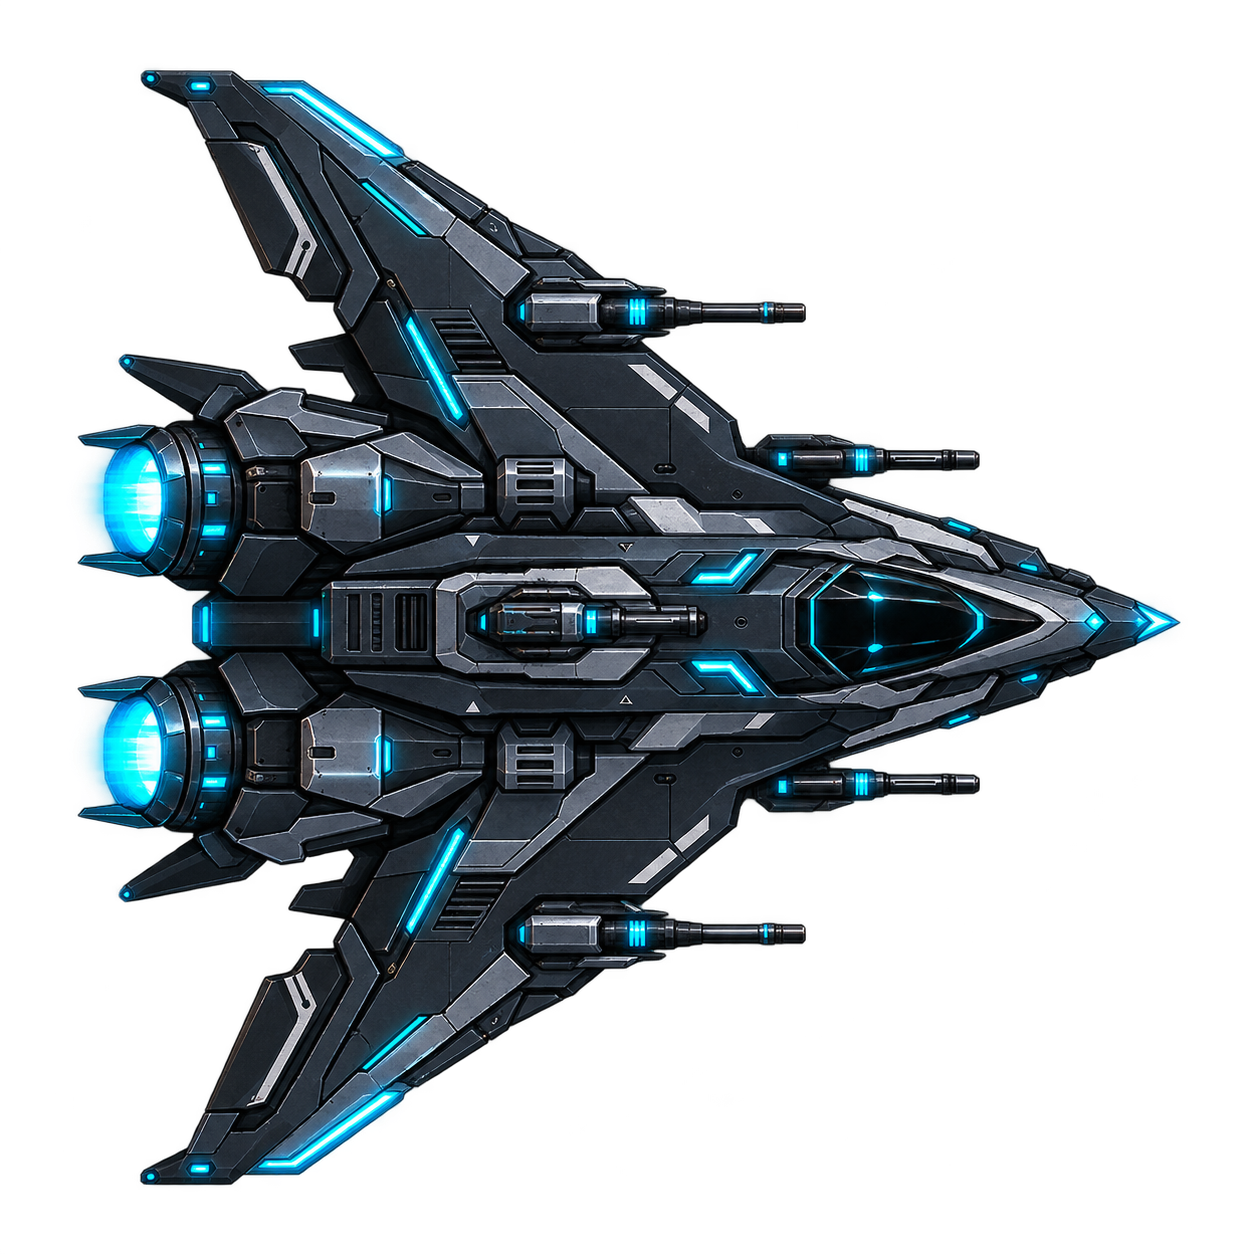
Viper spacecraft
SHORT DISTANCE / LOCAL ORDERS

Your ship carries out the order.

Heading and throttle

Open NAV below the minimap, or press N. Drag the heading dial or roll its wheel: each notch adjusts the bearing by 1°, wrapping through 359° to 000°. Changing the NAV heading preserves your throttle; at 0% the ship turns in place once stopped.

The throttle wheel changes the setpoint by five percentage points, clamped to 0–100%. Its animated slider handle shows the requested setting; the filled bar shows actual speed. Inertia means those values need not change together.

Click a course

Double-click empty flight space or the minimap to cruise on that bearing. From All Stop, this travel gesture resumes the last moving cruise setting. Another navigation order replaces the current one. Space / All Stop cancels navigation and brakes normally.

Bearings increase clockwise: 000° is the top of the map, 090° the right, 180° the bottom and 270° the left.

Stay near a contact

Approach to Range closes the distance, then stops. Follow at Range keeps following. Orbit at Range circles and chooses a convenient direction. The circular range menu offers 500, 1,000, 2,500, 5,000 and 10,000 Rz, Weapon Range and a custom field.

Choose a preset to issue the order immediately. For a custom distance, wheel over the field or choose Edit and type, then press Enter. A range click issues the order and closes the wheel.

Use your charts

Open the System Map with M or NAV → System Map. Select a known landmark or click a coordinate for a waypoint, then Approach. Save a named waypoint to keep it across computers. Clear removes the active pin; Delete removes a saved bookmark.

Exploration reveals geography. It does not grant live detection of ships beyond your sensors. Share locations through a Communications pin rather than trying to describe an unmarked point.

LONG DISTANCE / SAME SYSTEM

Phase Jump crosses local space.

Slipstream propulsion hardware

Waypoint → calibration → transit

A Phase Jump moves your ship to a selected surface waypoint. It does not select a new faction system or change your Squad.

  1. Choose a destination at least 5,000 Rz away

    Undock and select a waypoint in the current system using the main or companion map. Jump is unavailable in Rifts, Training and Escort.

  2. Have 75% of maximum capacitor available

    The cost scales with your capacitor capacity: a 400 MJ maximum requires and spends 300 MJ. Hover a disabled Jump button to see the actual blocker and current energy requirement.

  3. Calibrate for at least 10 s

    Start the jump from the map. The ship turns using its fitted thrusters and shows WAITING if it still needs to turn after the minimum timer. You can cancel before departure without paying its travel cost. During transit the ship travels rapidly and the NAV gauge extends into its red speed range. Ordinary steering resumes after arrival. Configured resource systems keep running during transit and pay their normal capacitor costs. Stasis blocks departure and intercepts travelling ships without refund or automatic restart.

BETWEEN LAYERS / FROM THE NEXUS

Astronav starts fully docked.

Dock at the Nexus, then use its top-level Astronav button or press G. The system-name button and NAV also open the Layer map for inspection. Choose a learned destination; travel can begin only while fully docked at the Nexus. Anchor is learned initially. The other headquarters stay visible but LOCKED until you learn their Frequency tuning from Cargo. Find rare tunings on NPCs, raiders and Rift enemies, or buy a duplicate from another pilot. Press K, or select Knowledge beside Local Starter at the Nexus, to browse learned and visited Layers with faction, major-band and Sector Class filters. The left Astronav dial selects major bands; its center list selects individual Layers.

1 → 2 → 3 → 4 → 5ANCHOR / VIGIL / EMBER / DRIFT / CHORUS
  1. Choose the next major band

    Cross-band travel moves one adjacent major band at a time. Anchor to Chorus means Anchor → Vigil → Ember → Drift → Chorus. Each hop has a 20 s calibration, and you dock again to start the next one. There is no automatic queued route. Null Reach at 8.9065 THz is closed.

  2. Hold position during calibration

    Starting calibration undocks your ship and engages All Stop. Position and heading remain fixed; navigation stays locked until you use Cancel or the transfer completes. Cancel leaves you undocked in the original Layer with control restored.

  3. See the transition

    The signal transition carries you to the new Layer, undocked and stationary at exactly the same coordinates and heading. The Nexus occupies the same center in both maps. Your Layer Frequency becomes the destination’s exact address; your Squad, Vault and Hangar persist.

Known destinations within the same major band play the complete signal-loss and acquisition sequence without a 20 s major-band calibration. Qirk’s Graveyard at 1.1869 THz is already a second Layer in Anchor’s band; further discoveries are future additions. Every destination in a multi-hop route must be learned. Learning Chorus does not skip locked intermediate bands.

Jump preparation, Astronav, Escape Rift and logout use a cancellable countdown. Finish or cancel one preparation before starting another; logout cancels pending travel preparations.

A nearby Layer: Qirk’s Graveyard

Anchor’s Concord Forge Shop and main Trading Outpost sell its tuning for 1 Burst in unlimited quantities. Learn the cargo item, then select 1.1869 THz from Nexus Astronav. Travel between known Layers in the same major band uses a short transition; it does not require the 20 s major-band calibration. Qirk’s Casino, a Trading Post, Training Grounds and the machine graveyard are here. Read the scavenger rules and local services →

Inside a Frequency Rift

Rifts remain contained sub-Layers of their parent Frequency. Use portals to descend, ascend or exit. NAV’s Escape Rift starts a vulnerable, cancellable 15 s return with your ship and cargo to the parent Nexus. It is distinct from Escape Combat. Astronav and local Phase Jump do not move you out of a Rift.

SQUADRONS / SHARED DESTINATIONS

Choose a Squad. Meet on purpose.

  1. Agree a four-digit Squad number

    Both pilots fully dock at the Nexus and choose Squad. Enter the same nonzero number, such as 0042. 0000 is solo. Membership belongs to your pilot and stays with you when you switch ships. There is no invitation step.

  2. Meet in the same Layer

    Compare your Layer names and exact Frequencies. Use Astronav from the Nexus to travel between Layers, then a waypoint or local Phase Jump to meet. Joining a Squad does not teleport anyone.

  3. Share a location

    Open Communications with Enter or its header and choose Squad. Squad chat reaches members across Layers and activities. Use PIN to attach a waypoint or position. Private messages also work: /[Pilot Name] message.

  4. Enter an activity together

    Set your Squad before leaving the Nexus and meet at the same Rift entrance or Escort depot. Squad members share Rift runs and waiting Escort lobbies; solo pilots get separate runs. Escort rosters close at launch. Training and Escort keep their activity-specific admission, protection and restoration rules.

The Layer’s Sector Class governs main-Layer PvP. Squad protection is separate from faction NPC hostility.

The Nexus’s three boundaries

The Nexus spans 1,200 Rz. Its blue docking circle has a 750 Rz radius. The green harmonic field protects against combat within 2,000 Rz. Pale gray rings continue to a 4,000 Rz radius: ordinary combat can continue in this outer area, but mines and Stasis cannot be deployed there. Incoming mines detonate at the boundary without harming ships inside. A Stasis field deployed outside remains active only beyond that boundary.

The Sector Class and exact Frequency button opens your local Layer map; hover it for the Layer name. Green means SECURE, while red marks a Layer where PvP is available. Phase Jump moves within your current Layer. Frequency Rifts retain their name and lead into unexplained spaces within that Layer.

Orders without a stack of menus

Right-click a ship or contact to open the targeting wheel: Orbit above, Approach left, Follow right and Target/Untarget below. Navigation replaces the circle with range choices: 500, 1,000, 2,500, 5,000 or 10,000 Rz, plus the current weapon-range recommendation. A range click issues the order and closes the wheel. The center remembers the last range for that action; scroll over it to adjust by 100 Rz, or choose Edit and enter 100–20,000 Rz. Enter confirms exact entry. Escape or an outside click cancels. Space remains All Stop; the backtick key retains Escape Combat. Right-click containers and asteroids for their central Open or Mining action.

The Layer map shows its actual four-decimal THz address and Sector Class. Rift maps show HOSTILE and Depth, without a Frequency. See the faction guide for each headquarters’ activities.